
Organizing Data With Tables
Synapse tables are used to organize web-accessible, sharable, and queryable data. Tables may be queried and edited with the Synapse UI, as well as with the Synapse programmatic clients. This article guides you through the process of creating a table in Synapse.
![]() For information about how to query a table, see Querying Tables, Views, and Datasets.
For information about how to query a table, see Querying Tables, Views, and Datasets.
![]() To learn more about creating tables and creating queries using one of the Synapse programmatic clients, see:
To learn more about creating tables and creating queries using one of the Synapse programmatic clients, see:
Tables in Python Docs
Tables in R Docs
Creating a New Table From a File
Tables require structured data contained in a .csv or .tsv file. If your structured data is saved in an Excel format such as .xls or .xlsx, you must “save-as” to convert the file to a .csv before you proceed in Synapse. Navigate to the Tables tab in your project and select Upload a Table. If you provide a .csv or .tsv file, Synapse will infer your table schema based on the column headers. You may further customize the schema by selecting Schema Options.
For very large files, it may take time for the table to be built and indexed completely before it can be viewed. You may navigate away from the table once you have clicked Create, and you will not lose any data.
Creating an Empty Table
You have the option to create an empty table by clicking on the Tables Tools menu and Add Table. To build a new table, you must specify the table structure, column by column. Select Add Column to specify each column’s properties.
Column Name | Choose a name for the column that will appear in the header. Column names must be 256 characters or less. There are three reserved words that cannot be used for Column Name: ROW_ID, ROW_VERSION, ROW_ETAG (case insensitive). |
Column Type | Select the type of data that will be entered into this column. For detailed descriptions of each column type, see the REST docs. |
Size | For certain column types, such as String or Link, you must specify the maximum size of a single value. The default value is 50 characters, but you can limit the maximum size to be between 1 and 1000 characters. For column types that are lists (such as StringList or IntegerList), this number specifies the character maximum for all values in the column. |
Max List Length | For some list column types (such as StringList or IntegerList), you must specify a maximum list length. This number describes the maximum number of values that can appear in your list. For example, a Max List Length of 3 means that you may enter a list of up to three items. |
Default Value (optional) | Choose a default value to pre-populate in every new row of the column. Leave this field blank if you do not want to specify a default. |
Restrict Values (optional) | If you want to restrict the values for a particular column, enter the list of allowed values to create a dropdown menu. You can then select entries from this menu when adding table rows. Leave this field blank if you do not want to restrict the values. |
Facet | Select columns to be included in a faceted search to the left of your table. Choose Values to filter from a list of all possible entries for this column. Choose Range to filter with a slider, which is recommended for numeric values. Select a blank field to remove this column from the faceted search. |
After you create an empty table, select Table Tools and Upload Data to Table to upload data from a .csv or .tsv file. The first line of your file must match the table structure specified.
Alternatively, you may add rows and table data manually. To add, delete, or modify existing rows, click on Bulk Edit Table Cell Values (pencil icon) to edit rows.
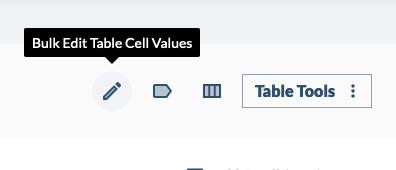
Click the + sign to add rows. To delete rows, check the boxes of the rows and click the Trash Can icon.
Modifying a Table Schema
Select Table Tools, Show Table Schema, and then select the Edit Schema button to modify the existing table structure. From Edit Schema, you can delete columns, add new columns, and modify existing columns.
Searching a Table
You can search for data within a table in two ways. The default search is a simple search menu to the left of your table. Use the facets to filter your dataset and narrow down your search. Table data can also be retrieved by using a SQL-like query language either through the web portal or through the analytical clients.
![]() See Querying Tables, Views, and Datasets for more information.
See Querying Tables, Views, and Datasets for more information.
Deleting a Table
To delete the entire table, click on the Table Tools menu and then select Delete Table. If you do not see this option, you do not have permission to delete the table. Contact an administrator for the project to get permission.
![]() Learn more about permissions at Sharing Settings, Permissions, and Conditions for Use.
Learn more about permissions at Sharing Settings, Permissions, and Conditions for Use.
Adding Files to a Table
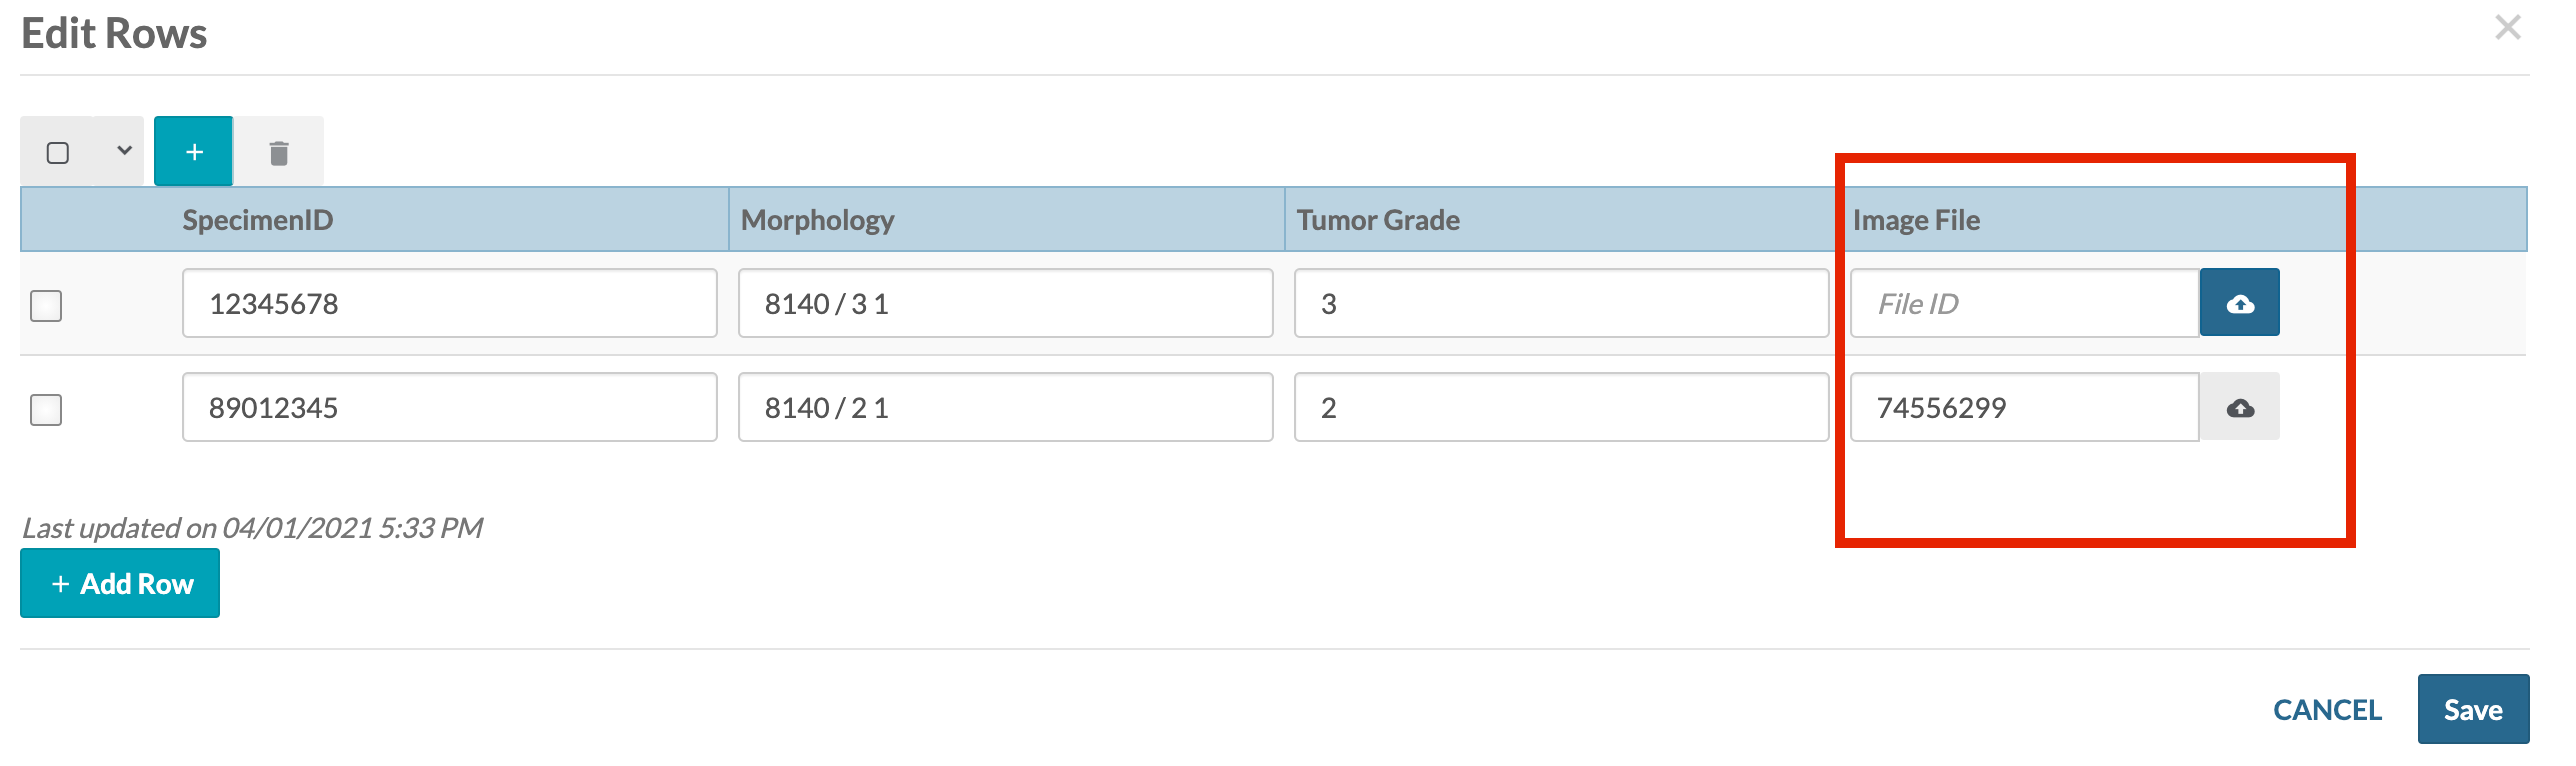
In addition to structured data, you can also add individual files to a table in Synapse. In the example below, this feature is used to add image files to a table containing histology data.
First, navigate to a table and add a new column for files. To add columns, click Table Tools, Show Table Schema, and then Edit Schema. From the pop-up window, click the Add Column button and set the Column Type as File. Click Save to exit from the Edit Columns window.
Next, click the Edit Query Results button (the pencil icon). In the column you just created, click the upload icon to add a file from your local computer.
Versioning a Table
You can create a version history for any table in Synapse. Versioning helps you keep a record of what changes you made to the table and when you made them.
![]() For more information on versioning a table, see Versioning Tables, Views, and Datasets.
For more information on versioning a table, see Versioning Tables, Views, and Datasets.